Capcom Power Installation
NOTE: Be sure to turn the power off to your machine before proceeding!
Installing the power for your Scorbitron is easy in three steps:
- Locating your power source
- Installing any necessary adapters and cabling to the source
- Connecting the power cable to your Scorbitron
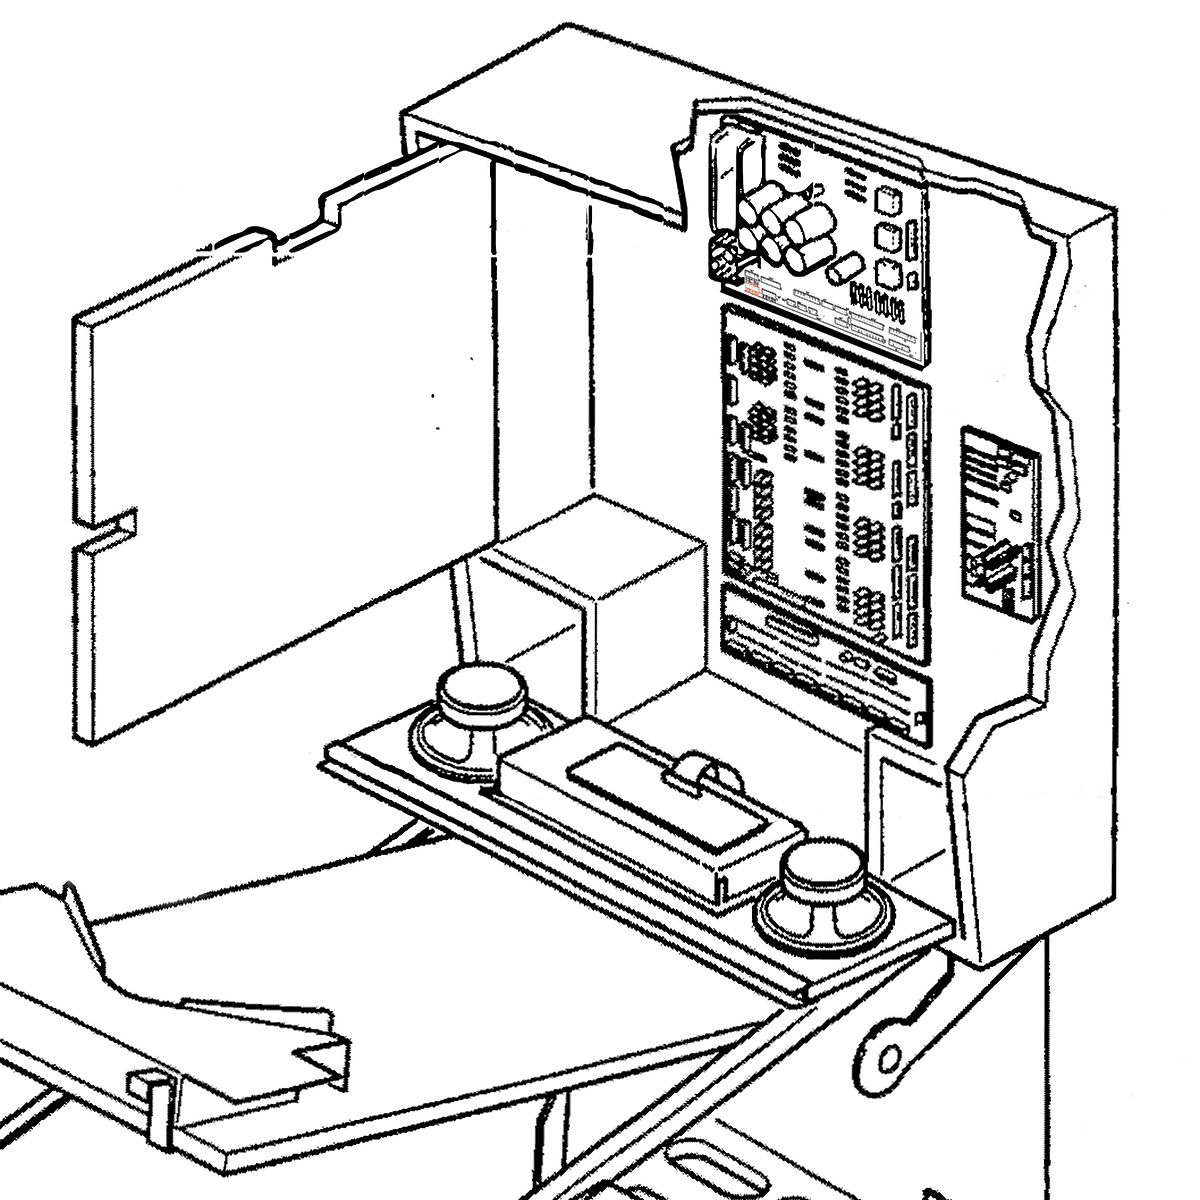
Locating Your Power Source
Identify position J3 on your Capcom power board. This illustration should guide you to its location:
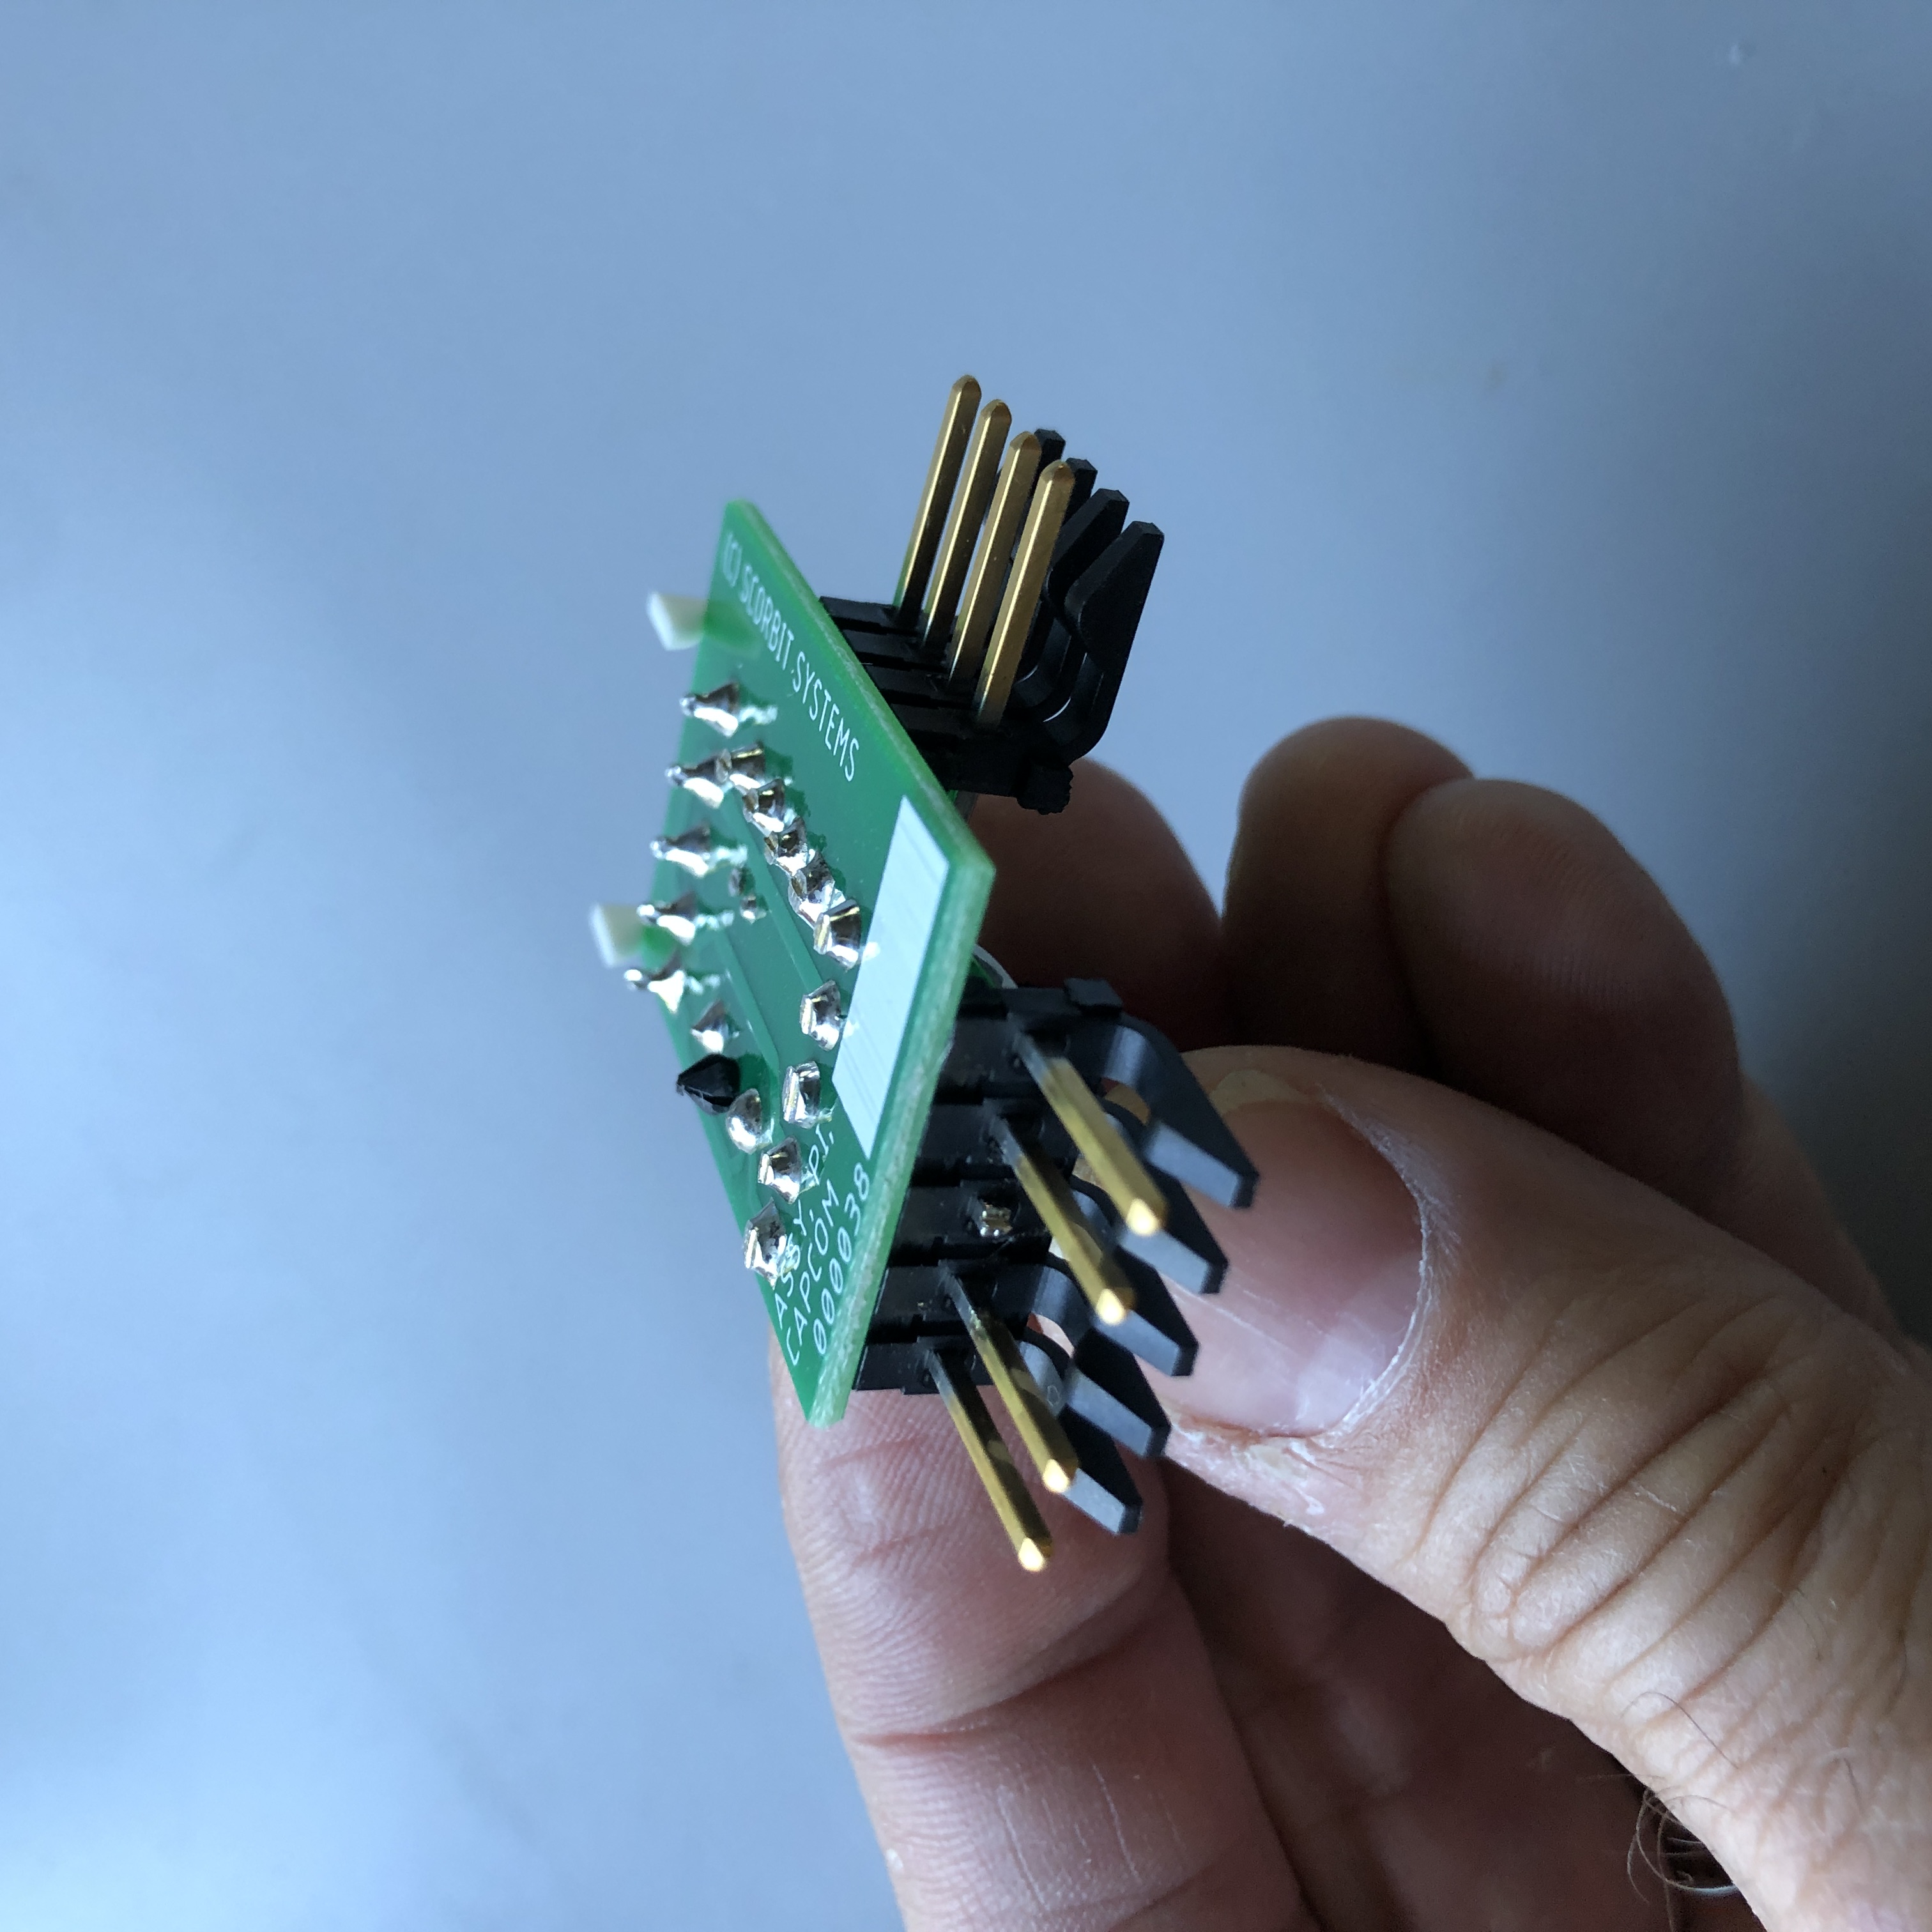
Installing the Power Adapter
Remove the existing cable connector attached to J3 and push aside, noting its orientation. Next, insert the supplied Capcom Power Adapter's white 5-pin connector into J3 in the orientation shown here:
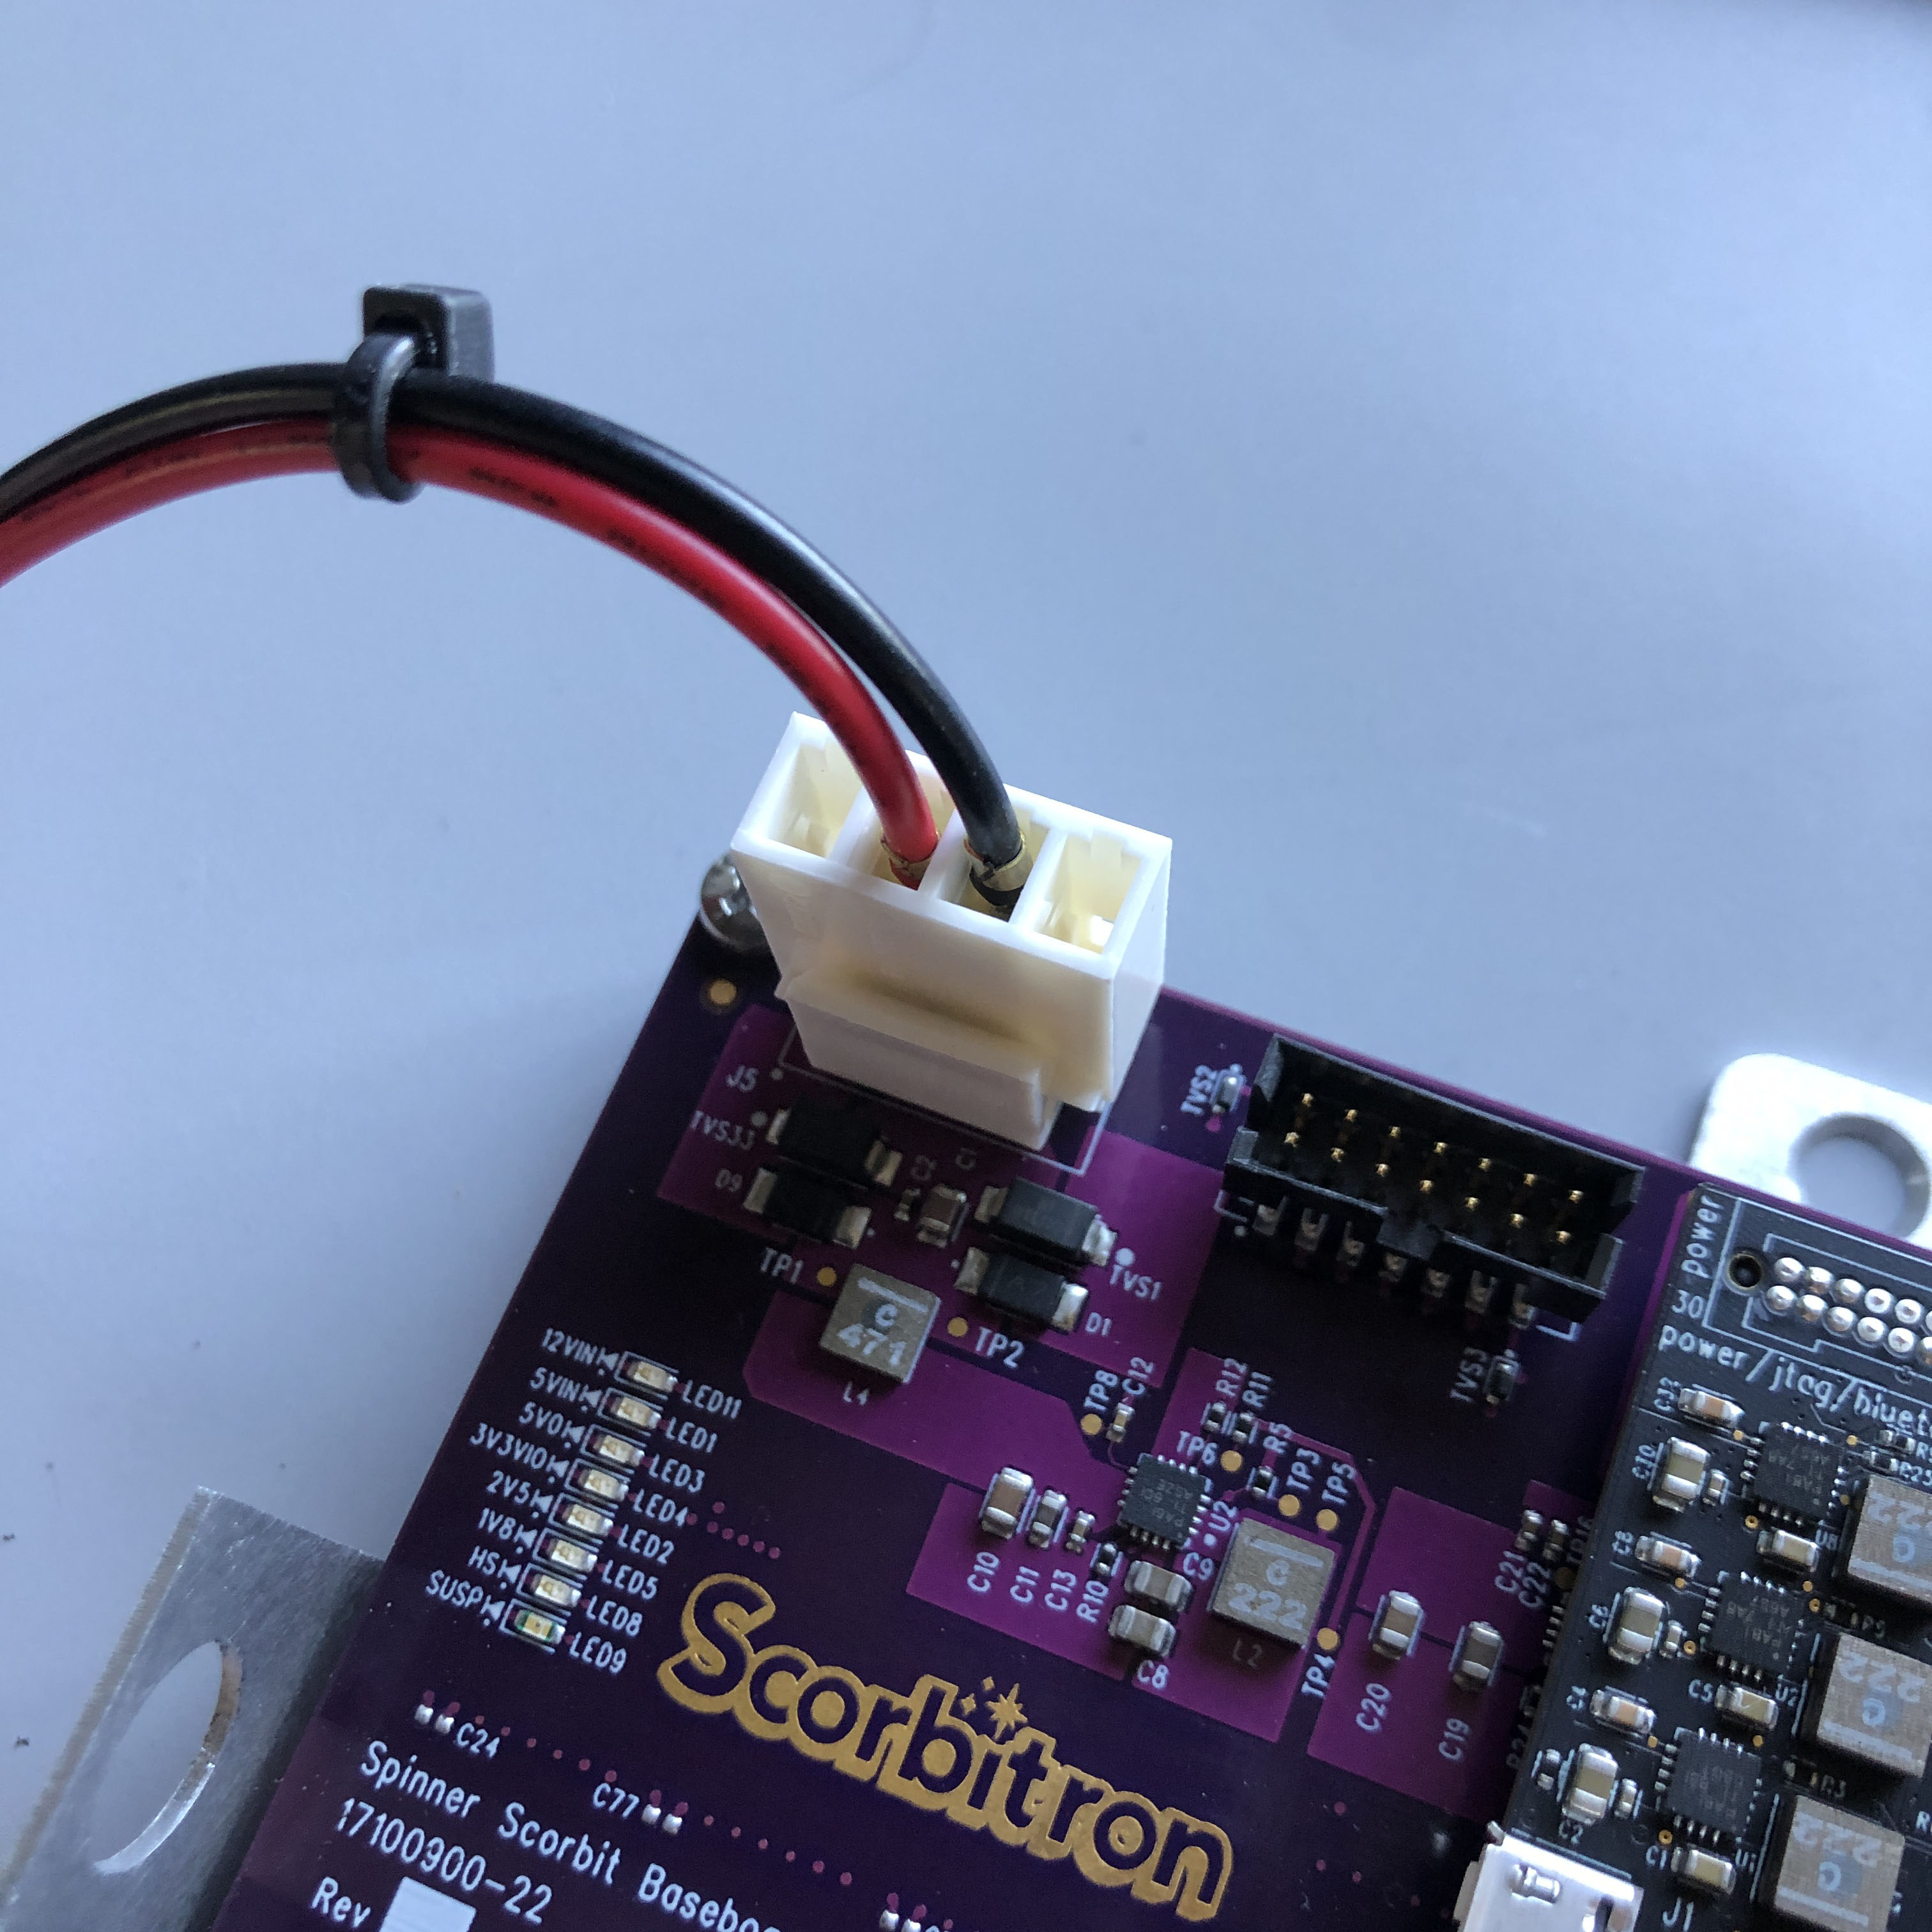
Attach the original cable and connector that was in J3 into the 5-pin output connector of the power adapter as shown here:
Connect Power Cable to Scorbitron
Attach the provide Scorbitron power cable to the 4 pin output connector as shown here:
Routing the power cable carefully through the machine's existing wire management, run the power cable to the power input connector of the Scorbitron:
The Scorbitron is now ready to receive power, so now you may proceed to the next step, the Game Data Connection.