ScorbitVision Images
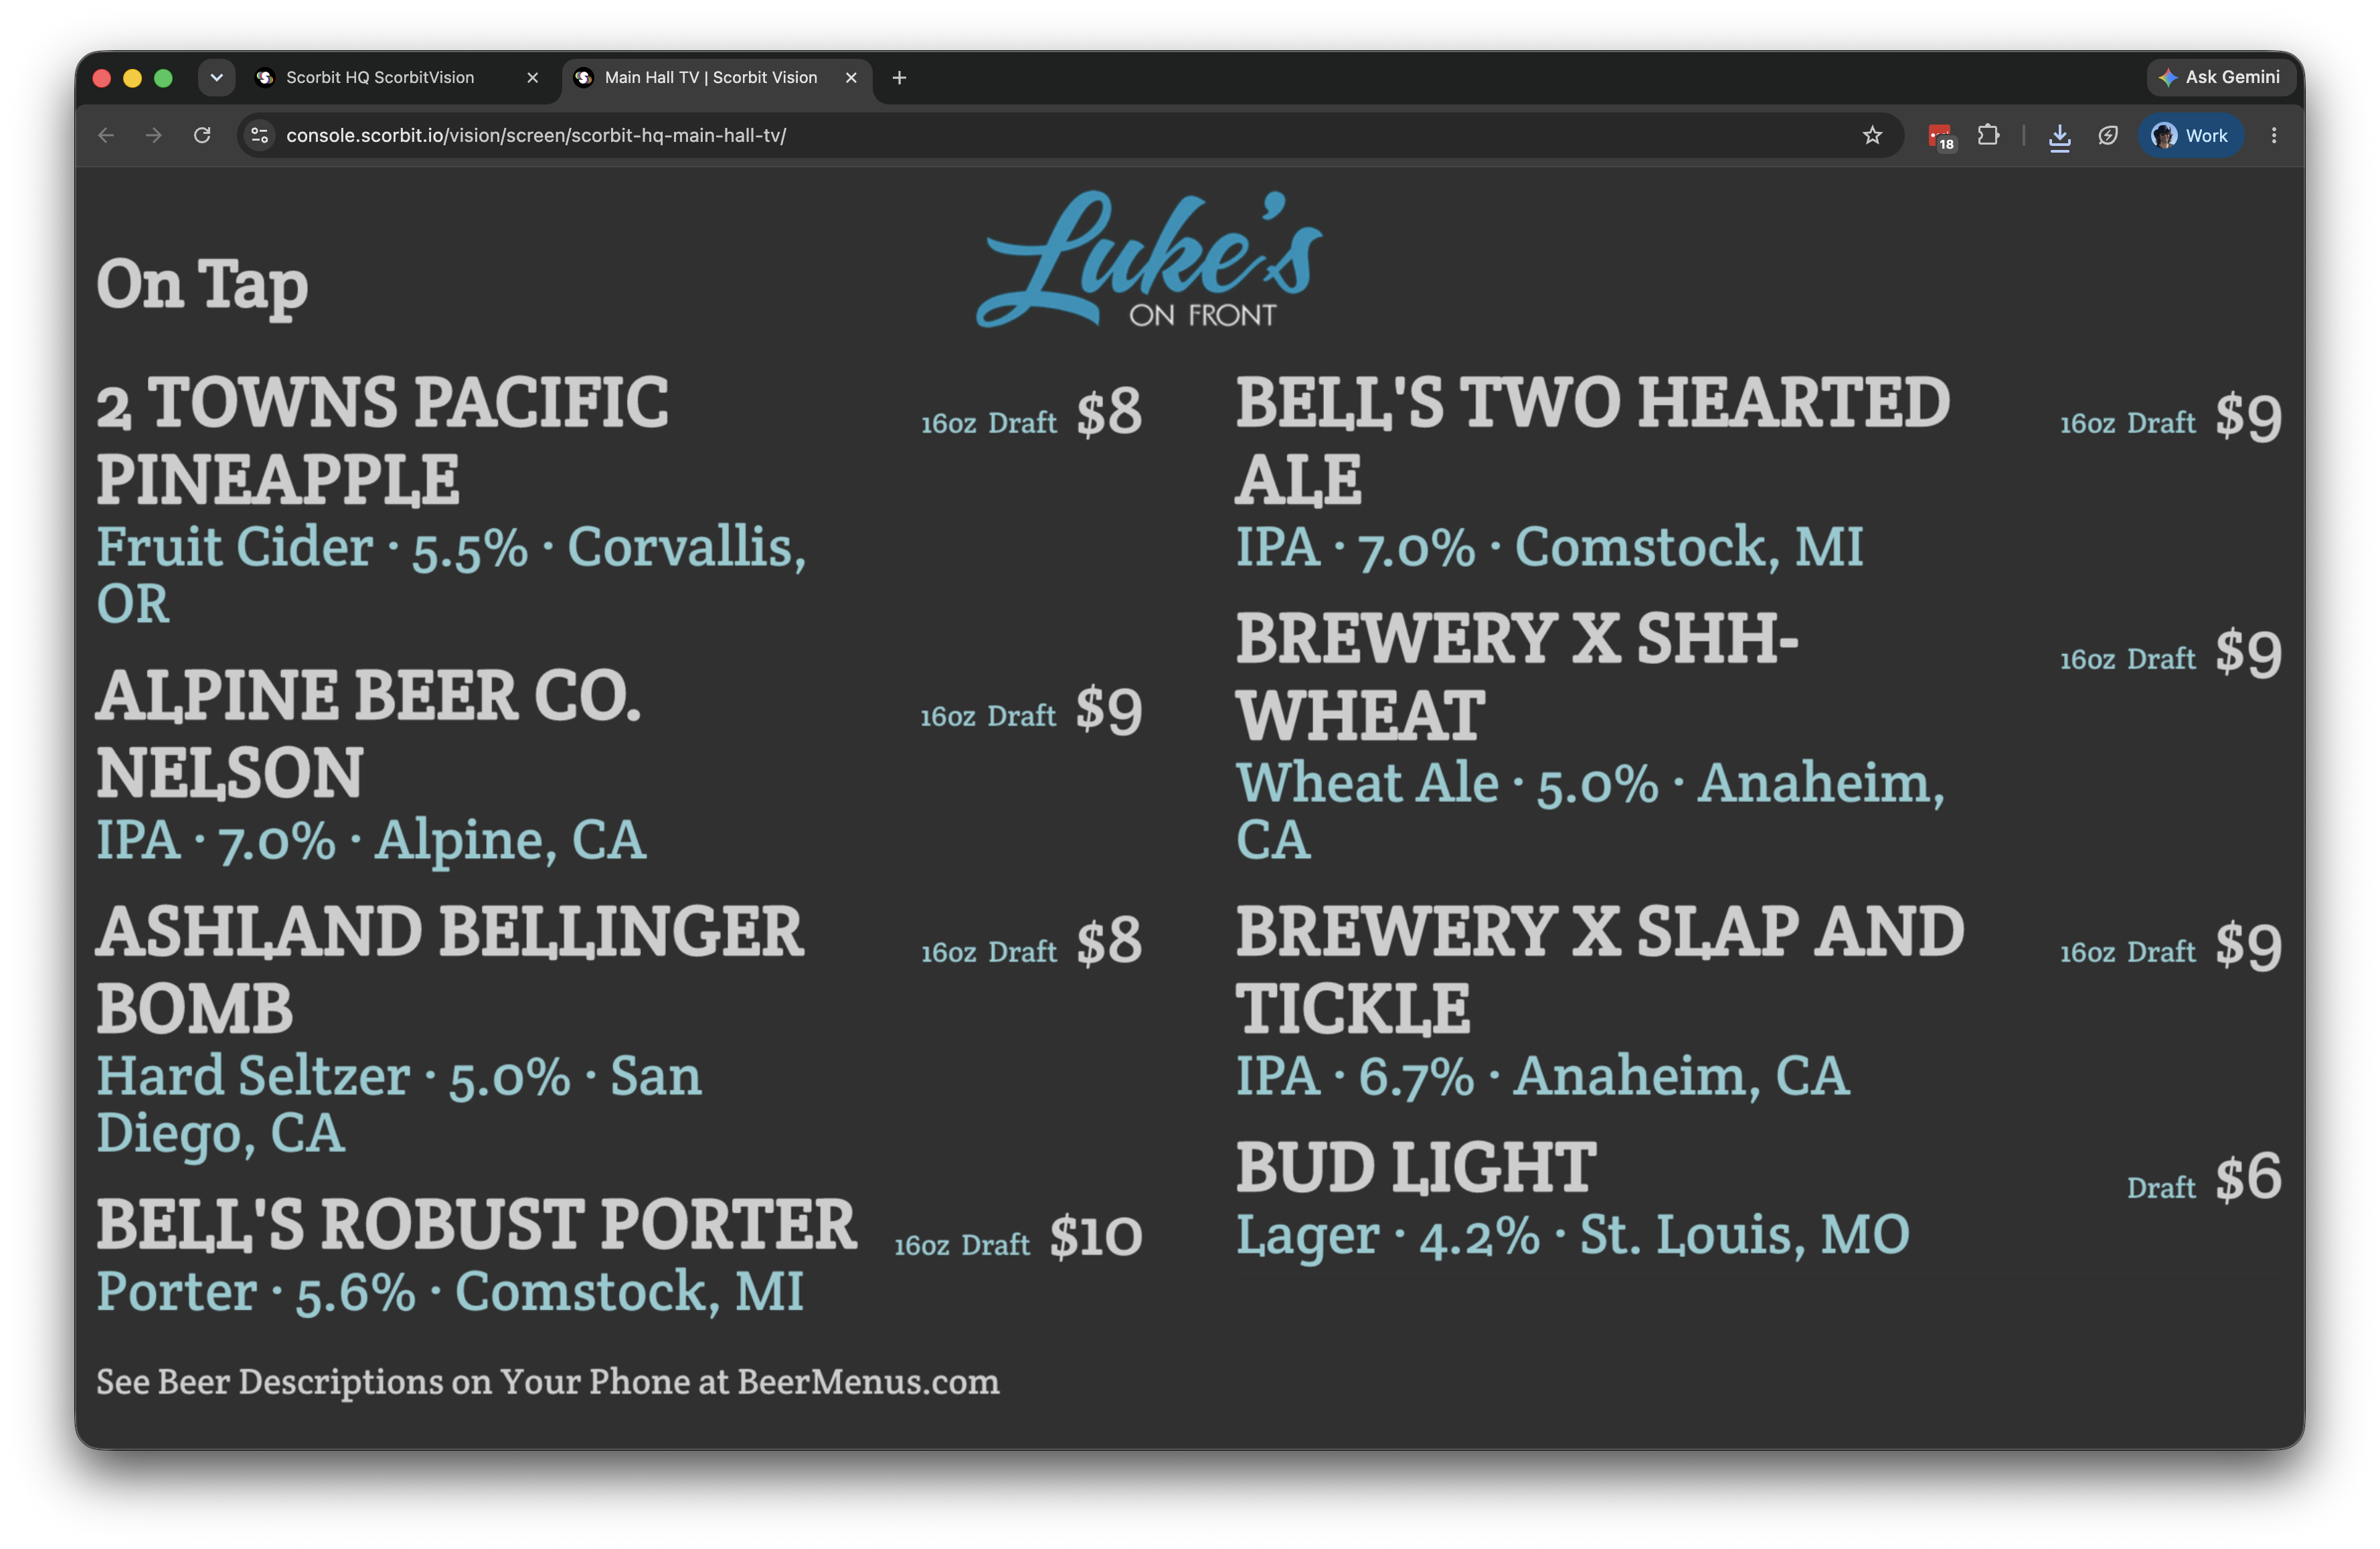
A ScorbitVision Image item displays a static image on a screen — a poster, announcement, sponsor graphic, menu, or any other picture. It is the simplest playlist item: drop in an image and it shows for its turn in the rotation.
Image items are one of the item types you can add to a screen's playlist, so before continuing, make sure you are familiar with the ScorbitVision Dashboard and how playlists work.
Adding an Image
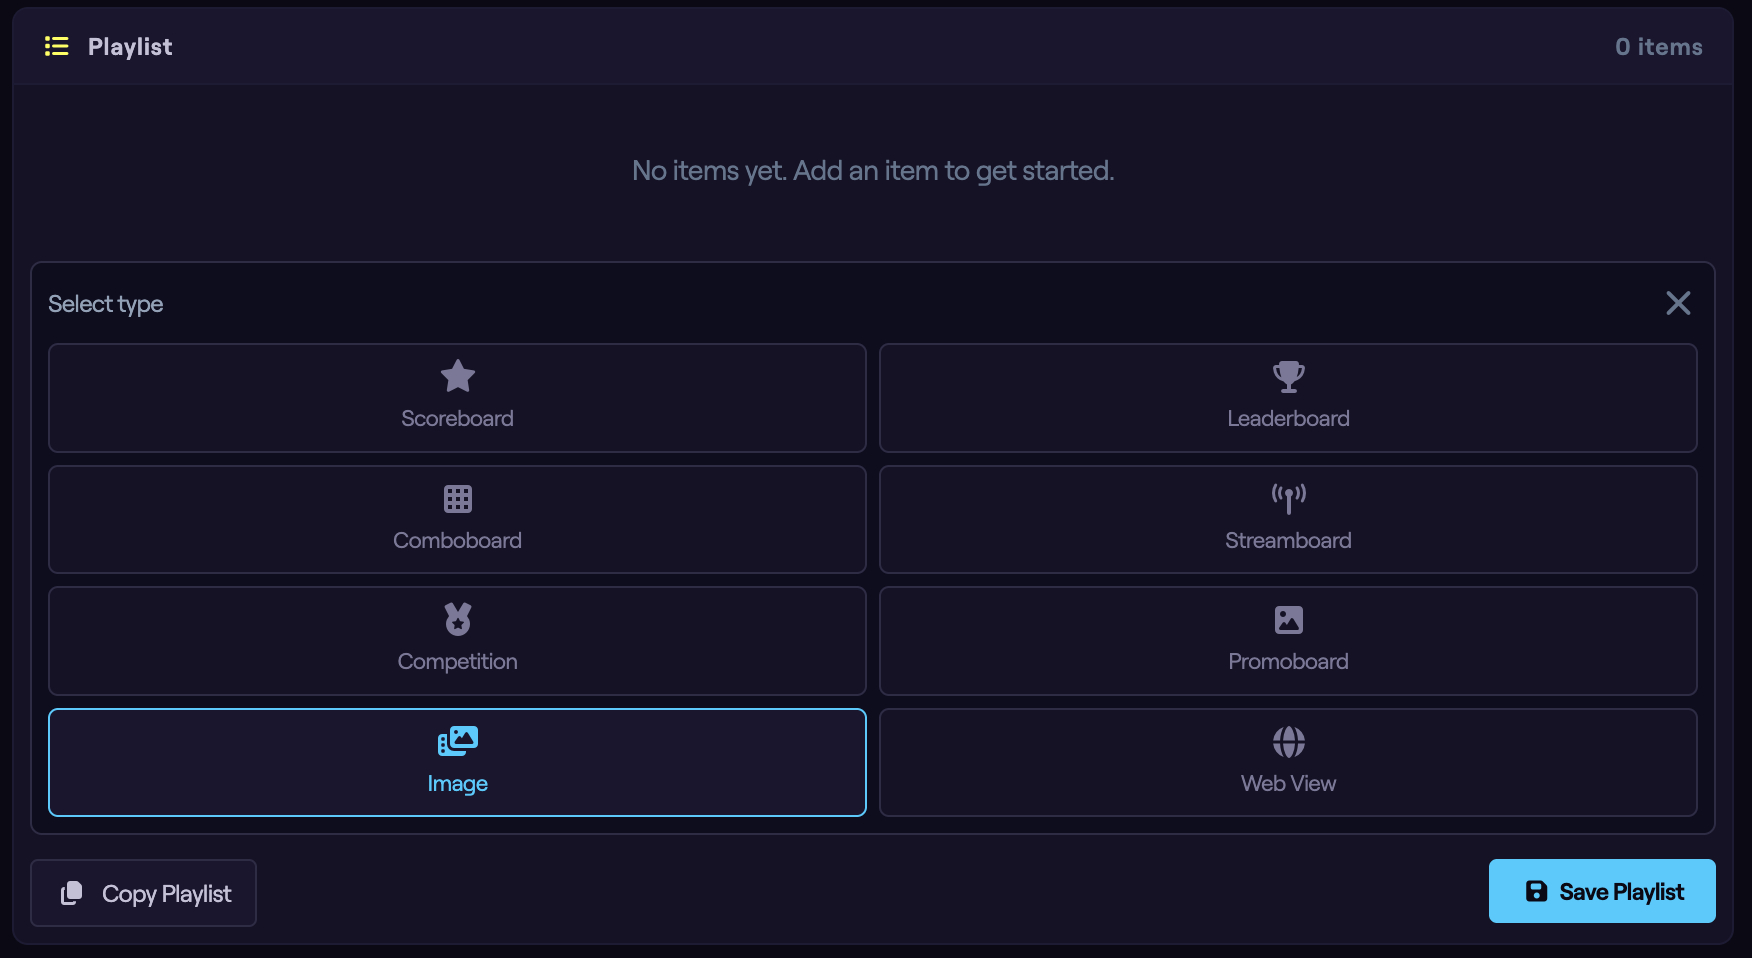
From the dashboard, select the screen you want to edit, then in the Playlist panel click Add Item and choose Image. The new item is added to the playlist and its configuration panel opens below.
Choosing the Image
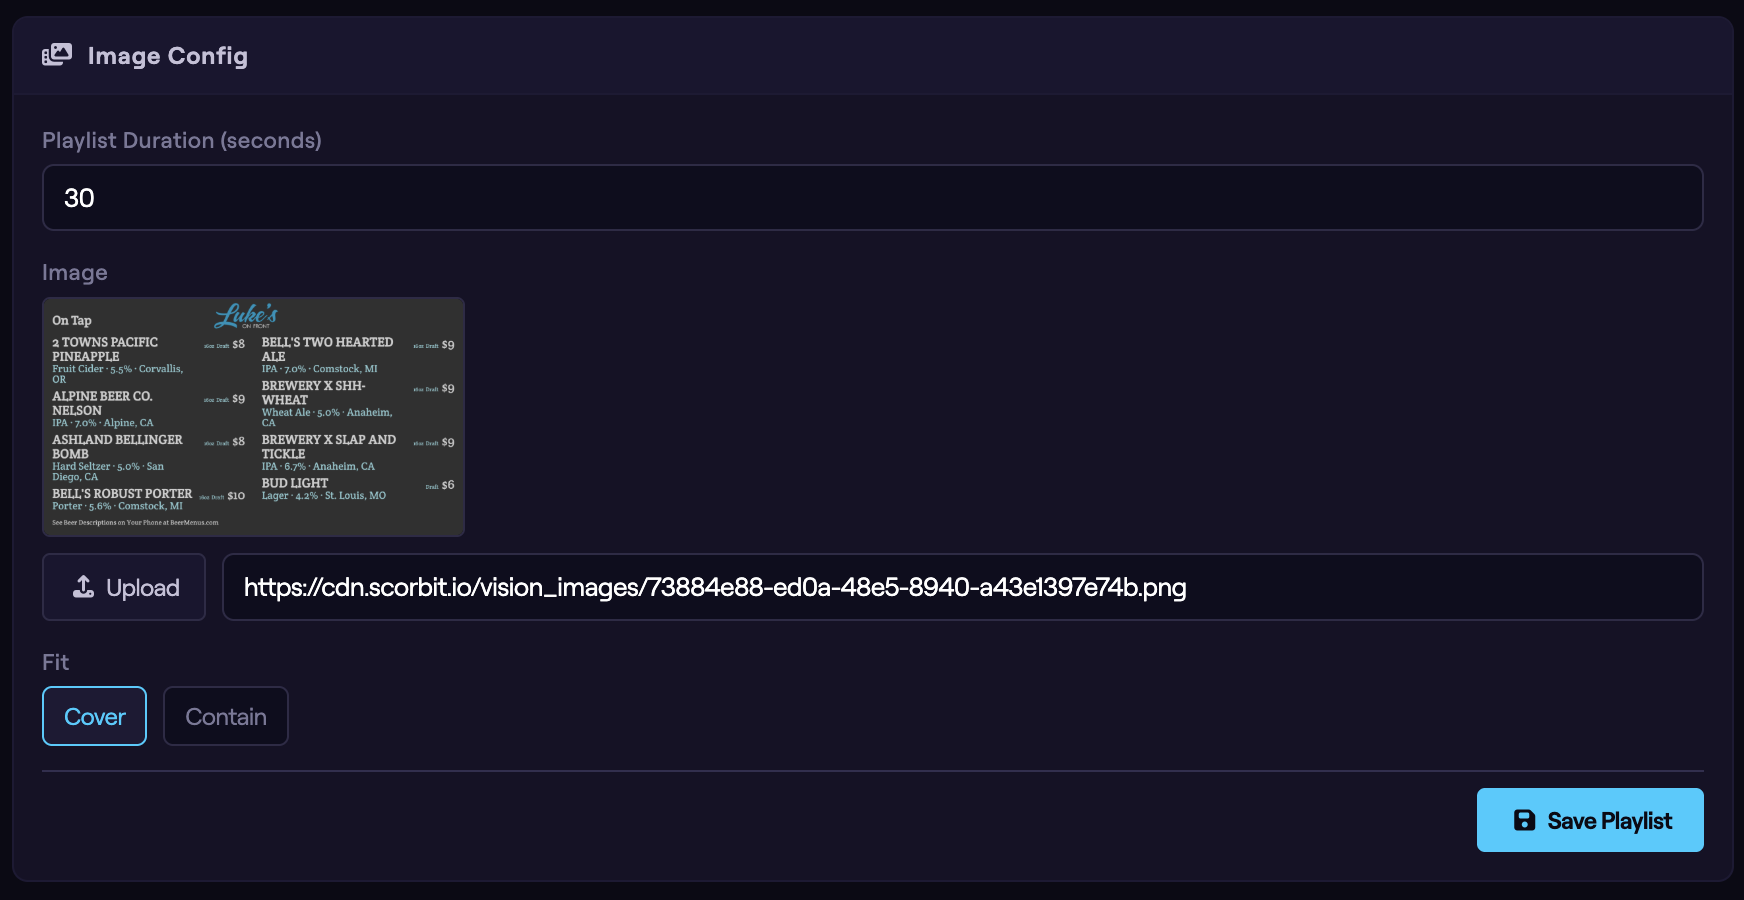
Add your image in one of two ways:
- Click Upload to upload a file from your computer.
- Paste an image URL into the field beside it.
Once set, a thumbnail preview appears in the configuration panel.
Fit
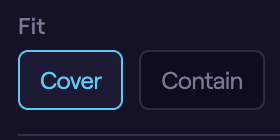
The Fit option controls how the image fills the screen:
- Cover — fill the entire screen, cropping the edges of the image if its shape does not match the screen.
- Contain — show the whole image without cropping, adding letterbox bars where the shapes differ.
Choose Cover for full-bleed backgrounds and Contain when the entire image must remain visible (such as a flyer with text to the edges).
Setting Duration and Saving
Set how long the image stays on screen using the Playlist Duration field at the top of the configuration panel, or by clicking the duration on the playlist item.
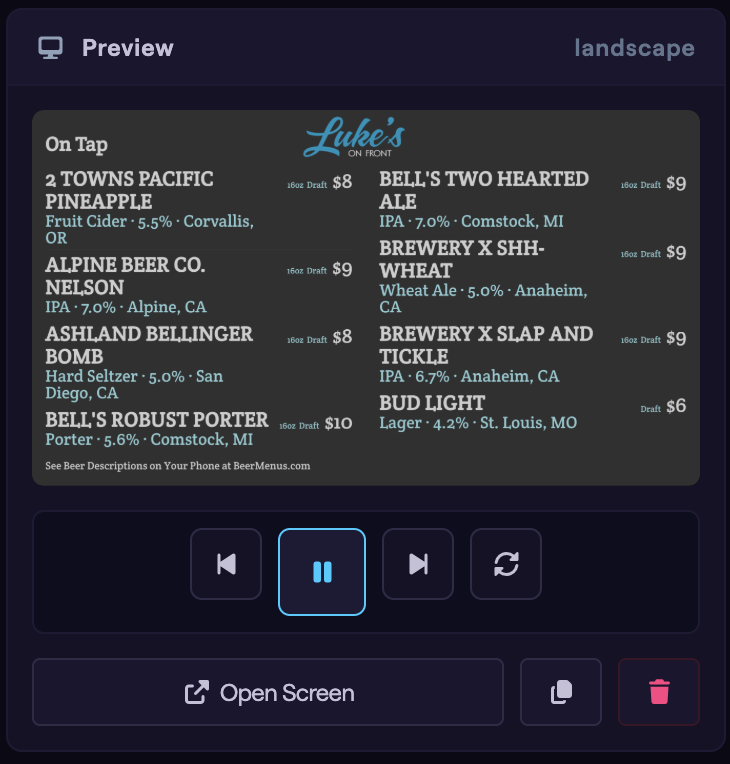
Watch the Preview column as you adjust the settings, then click Save Playlist to push your changes to the screen.
Next Steps
The next guide covers Web View, for embedding a live web page on a screen.